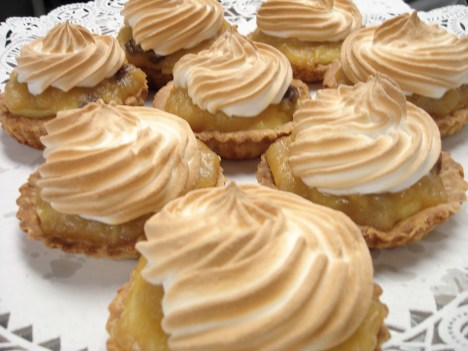
Remember back in the day when I used to make tarts all of the time?
- Mandarin Orange and Pomegranate Tart
- Banana Pudding Tart
- Fresh Fruit Tarts
- Plum Macadamia Nut Tart
- Rasberry Chocolate Tart with Biscotti Crust
- Banana Nut Tart
Well, I was asked to make an apple dessert for Thanksgiving and I wanted to step outside of the apple pie box. I contemplated making an apple tart for Rosh Hashanah and decided on apple cake instead, so for Thanksgiving I determined it was time for a tart!
This tart was well-received. My dad actually thought it was purchased from a bakery when he saw it on the dessert table. (That is always the best compliment, isn’t it?)
This recipe follows my standard tart formula: crust + filling + fruit + glaze. It is easy to make and yields a beautiful and delicious tart. Enjoy!
Apple Tart:
Filling
- 3 Granny Smith apples
- 3 tablespoons unsalted butter, divided
- 1/4 – 1/2 cup (50 – 100 grams) granulated white sugar, divided
- 1/2 teaspoon cinnamon, divided
- Confectioners’ Sugar for browning the top of the tart.
- 1 1/2 cups chunky apple sauce (you can definitely use home made if you prefer)
Crust
- 2 cups graham cracker crumbs
- 1/4 cup sugar
- 1/4 tsp salt
- 1/3 cup melted butter
- 1 teaspoon vanilla extract
Glaze
- 1/2 cup apricot preserves
- 1 tablespoon Water
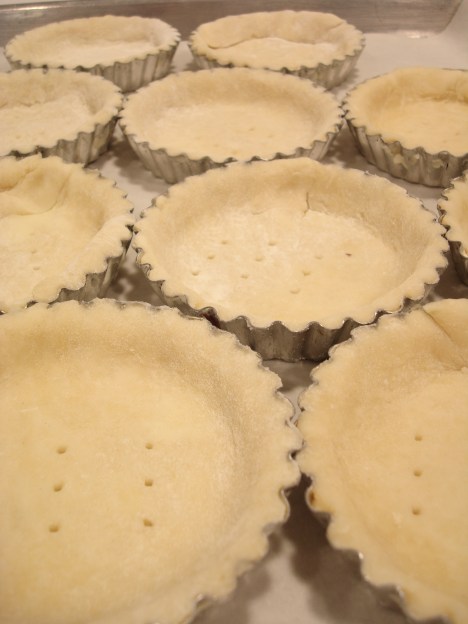
Make the Crust
Preheat oven to 350 F. In a large mixing bowl, combine all crust ingredients and stir with a fork until mixture is moist, like wet sand. Pour into a well-buttered 9- or 10-inch tart pan and press into an even layer, going up the sides of the tart. Bake for 12-14 minutes, until crust is just starting to brown at the edges. Cool completely.
Make the filling
Peel, core, and cut the apples into slices 1/4 inch thick. Melt 1 tablespoon butter in a large skillet over medium heat and stir in the other 2 – 4 tablespoons sugar and 1/4 teaspoon cinnamon. Add the apples and saute until they begin to soften, approximately 5 minutes. Set the cooked apples aside.
Assemble
Spoon the apple sauce into the cooled crust.
Arrange the cooked apple slices in concentric circles over the applesauce, and brush with 1 – 2 tablespoons melted butter. Sprinkle with confectioner’s sugar. Broil it under a preheated broiler about 4 inches from the heat until the edges of the apples are golden brown and crisp.
Make the Glaze
In a small saucepan, heat the apricot preserves until boiling. Remove from heat and strain to get rid of lumps. Add the water. Use this glaze to seal the baked tart shell and to brush the top of the finished tart.
Recipe inspired from this one found here on The Joy of Baking.
Filed under: apple, Dessert, Fall | 1 Comment »