Vegetarian Tortilla Pie


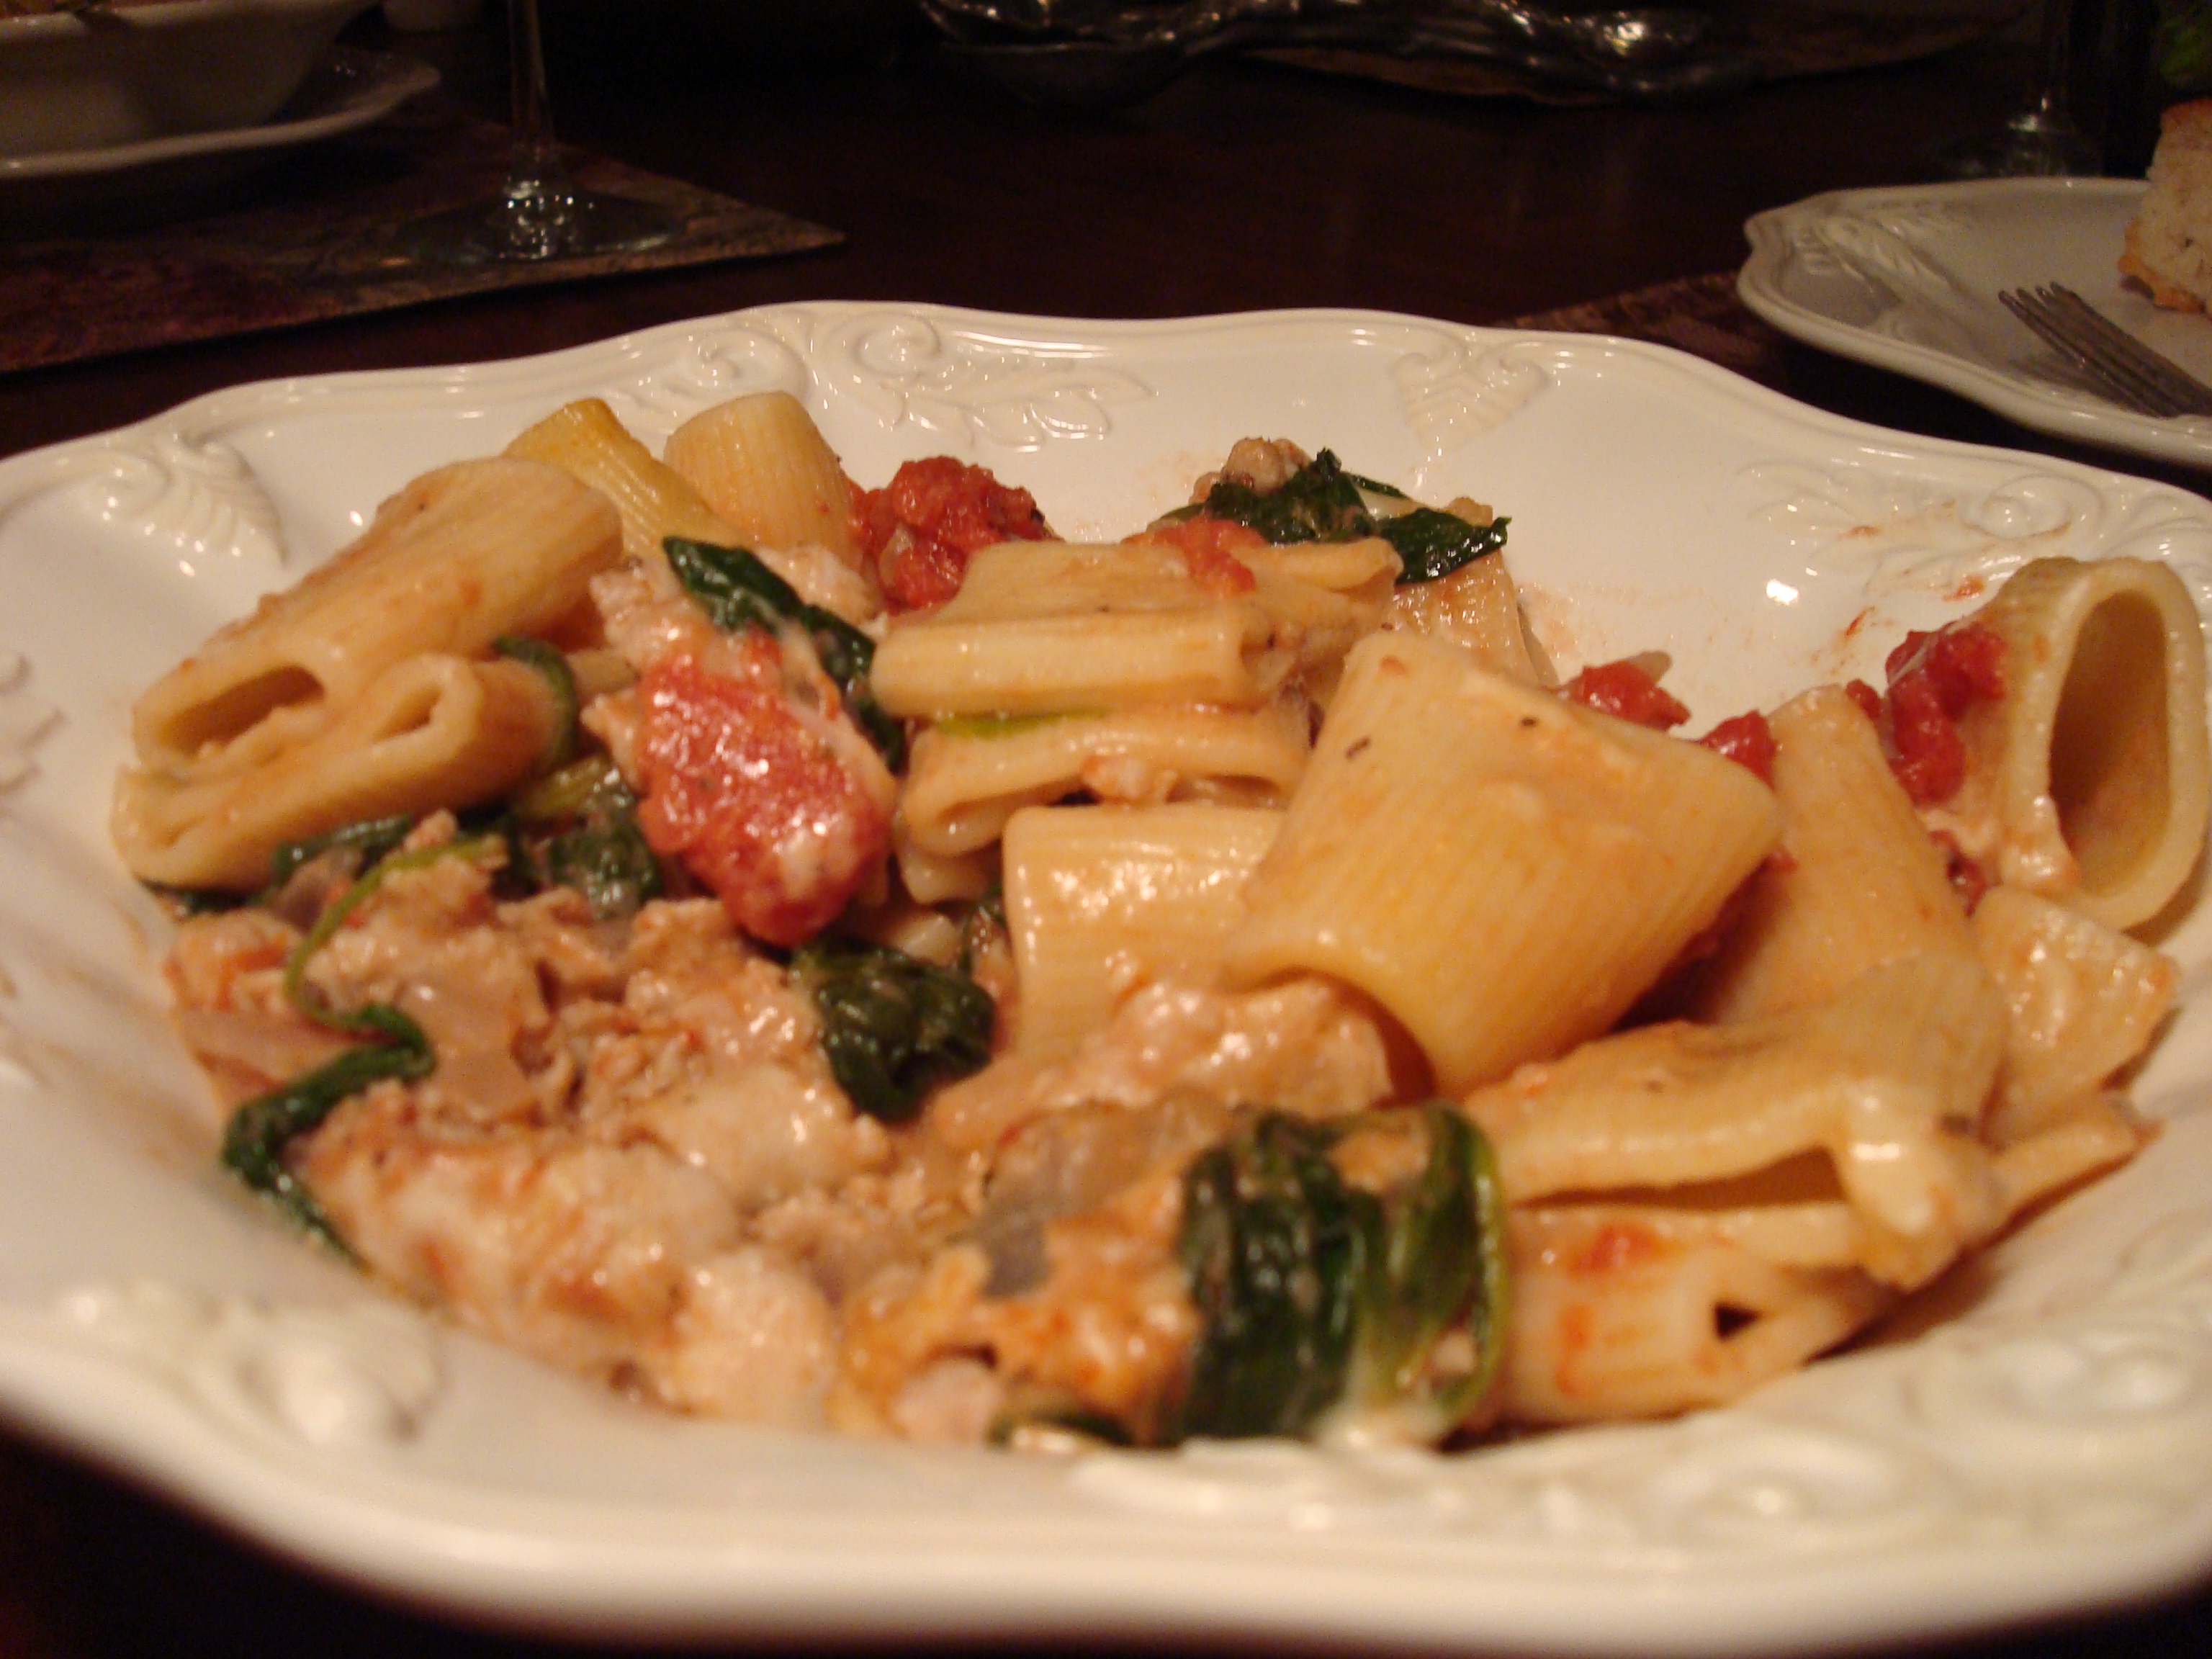
I wanted to make something light yet satisfying for dinner.  When I came across this recipe, it beckoned.  My photo (above) does not do it justice.  Here it looks like a sad pancake, however in reality, it was very crisp and tasty!  It is so quick and easy–a perfect weeknight dish.  You could even use different types of beans or fillings to your liking.  Get creative! Give it a try!   

Some notes on the recipe: 

(1) I modified this recipe by using the below ingredients (plus four additional tortillas) to create two pies.  It worked out well and there was plenty of filling, however, if you’d prefer a single hardier pie, stick with the recipe as it is below.

(2) I added avocado, which was not listed in the original recipe, as I always like to include as many fresh items in a meal as possible.  I think doing so really boosts the flavor and satisfaction you get while eating the meal.  This worked out well.

(3) I don’t always enjoy the taste of cilantro.  I often find it to be too strong and prominant a flavor.   To me, it overpowers and sometimes masks the other flavors in a given dish.*  I recently learned that I am not alone in my dislike for the herb.  Did you know there is an entire website/club devoted to cilantro-haters!?  This is zealous group!  But I digress… The point is I wanted to include a fresh herb other than cilantro, so I used chives.  I love chives!  They are so neat and easy to rinse and chop.  And they provide a subtle fresh flavor.

(4) Using low fat cheese would make this a low fat meal.  It’s as simple as that.

(5) I used low carb wheat wraps in place of flour tortillas.  I actually enjoy the chewiness of them.  However, if I were to make this for guests I would likely use traditional flour or corn tortillas.

Vegetarian Tortilla Pie:

  • 1 jar of salsa
  • 1  8 oz. jar/can tomato sauce
  • 1  15 oz. can black beans
  • 1  15 oz. can corn
  • 1 avocado, diced
  • 1 cup fresh chives, chopped
  • 4  ten inch tortillas
  • 2 cups Monterey Jack cheese, shredded

Preheat oven to 500 degrees.  Spray a cookie sheet with non-stick olive oil spray.  In a small bowl mix salsa and tomato sauce.  In another bowl, mix corn, black beans, avocado, and chopped chives.  Place one tortilla on the cookie sheet and spread 1/3 of the salsa mixture on it.  Then top with  1/3 of bean mixture and then 1/3 of the shredded cheese.  Layer like this twice more ending with a tortilla.  Bake the pie for 12 minutes, or when heated through and cheese has melted.  Let sit five minutes before cutting and serving.

*One exception, however, is my cousin’s famous guacamole.  When she told me she uses cilantro I was shocked.  Her guacamole is fresh and delicious and the cilantro flavor is by no means overpowering! 


Easy Vegetarian Chili


Our diets have been lacking fiber lately and I wanted to do something about it. (If only ice cream and chocolate were high in fiber I’d be all set!)  What better way to quench a fiber drought than with a nice hardy bowl of chili!  This recipe is filling and delicious and contains very little fat.  I doubled the below recipe in order to fill a huge pot, so I will likely eat a bowl of it for lunch every day this week.  I love how it can be easily reheated in single servings and it gets even tastier as it sits in the fridge!

——————-

Note: I received a reader request for some gluten-free recipes.  I have some research to do on this subject, but in the meantime, I am almost sure this recipe is gluten-free.  I will update this post when I have additional information.

***Update:  This recipe is gluten free.***

——————-

Vegetarian Chili:

  • 1 medium onion, chopped
  • 1 green pepper, chopped
  • 2 cloves garlic. minced
  • 2 tablespoons chili powder
  • 1  28 oz. can crushed tomatoes
  • 1  15 oz. can kidney beans
  • 1  15 oz. can chickpeas
  • 1  15 oz. can black beans
  • 1  15 oz. can cannellini beans
  • 1  15 oz. can corn
  • 2 tablespoons tomato paste
  • 1 tablespoon balsamic vinegar
  • salt and pepper to taste
  • 1/2 tablespoon cumin
  • a pinch of shredded Monteray Jack cheese for garnish

Rinse and drain beans in a colander.  Spray pot with cooking spray.  Saute onion, garlic, and pepper until soft.  Add remaining ingredients.  Bring mixture to a boil then cover, reduce heat, and simmer for one hour.  Garnish individual servings with cheese.

Recipe adapted from Ellie Deaner’s wonderful cookbook “So Easy So Delicious” available for purchase here.

Buffalo Chicken Pizza

I knew immediately when I saw this here at a Taste of Home Cooking that it would be something my husband and I would really enjoy!  And I was right!  This was delicious!  I may even make another one tonight!  That’s how good it was.  To take the words directly from my husband’s mouth, “This is amazing.”  (There may even have been an expletive in there!)  It is nice and spicy, but the ranch offers a sweet cool balance.  And served with a hearty salad this meal is just heavenly! 

I took The Home Cook’s advice and rather than use dough from the local supermarket, I purchased it from a well-known local Italian bakery.  What a great idea!  I can’t wait to make (and eat!) this again!  Thanks Home Cook! 

My dough rolling skills, do, however, leave something to be desired.  This pizza was neither a circle nor a square, and not by choice.  Does anyone have any suggestions on that front?  Nonetheless, the shape was irrelevant, as this was scrumptious!

Buffalo Chicken Pizza

  • one ball of fresh pizza dough
  • chicken, cooked and cut into small pieces*
  • 1/2 cup Frank’s Buffalo Chicken sauce
  • 3 fresh scallions, chopped
  • 1 1/4 cups ranch dressing
  • 2 cups mozzarella cheese, grated

Preheat the oven to 420 degrees.  In a pan over low heat toss and coat the chicken pieces (already cooked) with the Frank’s Buffalo chicken sauce.  Set aside.  I don’t have a pizza stone so I rolled out the dough on parchment paper over a cookie sheet.  Spread the ranch dressing over the dough.  Top with half of the mozzarella and then half of the scallions.  Now scatter the sauce covered chicken pieces over the pizza.  Cover with remaining mozzarella cheese.  Drizzle additional Frank’s over the pizza if you desire, but don’t drench it.  Top with remaining scallions.  Cook in preheated oven for 20 minutes, or until dough is crisped to your liking. 

*You can use pre-cooked chicken found in the butcher/deli, a rotisserie deli chicken, or cook your own chicken breasts.  Any of those types of chicken work fine for this recipe.

Pineapple Upside-Down Cake

 What a simple and delicious dessert! The texture of the topping is very nice and the pineapple is refreshing.  I really enjoyed this cake served warm with a scoop of vanilla bean ice cream.  I think even those who typically don’t love sweets would enjoy it.  There is something nostalgic and old-fashioned about it that makes you happy to indulge.

Pineapple Upside-Down Cake:

Topping

  • 1/2 stick butter, melted
  • 2/3 cup firmly packed light brown sugar
  • 3 cups chunked pineapple, fresh or canned

Cake

  • 1 1/2 cups flour
  • 1 1/2 teaspoons baking powder
  • 1/2 teaspoon salt
  • 1/2 teaspoon cinnamon
  • 1 stick butter, softened
  • 2/3 cup sugar
  • 2 eggs
  • 1 teaspoon vanilla
  • 3/4 cup milk

Make the Topping: In a small bowl mix the melted butter with the brown sugar and press the mixture into a buttered 9 inch round cake pan. Pat the pineapple chunks dry with paper towels and arrange them evenly over the sugar/butter mixture.

Make the Cake:  Preheat the oven to 350 degrees. Sift the flour, the baking powder, the salt, and the cinnamon into a bowl. In another bowl use an electric mixer to cream the butter with the sugar until it is light and fluffy.  Then add the eggs, one at a time, beating well after each.  Then beat in the vanilla. Add the flour mixture in three batches, alternating with the milk, beginning and ending with the flour mixture and beating well after each addition. Pour the batter into the pan over the pineapple and sugar.  Spread it evenly. 

Bake the cake for 45 to 55 minutes, or until a toothpick comes out clean.

Let the cake cool in the pan on a rack for 15 minutes.  Run a  knife around the edge of the cake and invert it onto a plate. Serve with vanilla ice cream.

Recipe courtesy of Gourmet Magazine found here on foodnetwork.com

Baked Rigatoni with Chicken Sausage

I have been craving pasta, and even though it was a  warm summer evening, I decided to be defiant and go ahead and make this wintery meal anyway!  Rather than use typical rigatoni I used mezzi rigatoni, which I purchased from a specialty Italian grocer.  This macaroni really contributed to the success of the dish, in my opinion.  I love the chewy texture and thickness of the pasta.  Additionally, the quality and freshness were notably superior to anything found in a local supermarket.  (If you don’t already do so, I encourage you to venture into specialty stores, if for nothing else but inspiration!  And in the meantime you may find new products you love!) 

Also worthy of note: The original recipe called for vodka, however, I don’t always love the taste of alcohol in my food (in my glass is a different story!) so I swapped it out for some beef broth.  I love the richness beef broth adds. 

I loved this meal!  It was delicious and creamy, however, not too rich.  There was a nice sweetness to it, and as I said, the texture of the pasta was really satisfying.  Served with a fresh salad, a crusty French baguette, and a nice glass of red wine, I found myself completely unafraid of the impending cool weather!

 Baked Rigatoni with Chicken Sausage:

  • olive oil
  • freshly groung salt and pepper
  • 2 medium red onions, chopped
  • 8 cloves of garlic, finely chopped
  • 1/2 cup of beef broth
  • 2    28 oz. cans whole tomatoes with juice and basil
  • 1 teaspoon dried oregano
  • 1 cup heavy cream
  • 2 lbs. mezzi rigatoni (or any tubular pasta)
  • 2   10 oz. bags fresh baby spinach
  • 24 oz. chicken sausage
  • 12 oz. fontina cheese, grated

Bring a large pot of water and salt to a rolling boil. 

Remove sausages from casings and cook over med-low heat with some olive oil until sausage is no longer pink. (Do not use a non-stick pan.)  Spoon the sausage from the pan into a bowl and set aside.  Add onions to pan and cook over med-low heat until soft/translucent, about 3-5 minutes. Add garlic to pan and cook another 3 minutes or so, until garlic is soft.  Remove pan from heat and add beef broth and deglaze the pan.  Return pan back to heat and cook for 1-2 minutes.  Stir in tomatoes and oregano.  Cook until tomatoes have fallen apart–about 15 minutes.  Stir in cream and cook another 5 minutes.  Season with salt and pepper.

Preheat oven to 400 degrees. 

Cook pasta in boiling water until al dente.  Use pasta water to cook spinach very quickly–this only takes a few seconds.  Drain the spinach and the pasta and return both to pot.  Add tomato sauce, sausage, and 8 oz. of grated fontina to pot of spinach and pasta and toss to coat.  Season with salt and pepper.  

 Pour into a deep baking dish.   Top with remaining grated fontina cheese.  Bake covered for 15 minutes.  Uncover and bake an addition 5-10 minutes.

Recipe notes:

  • This may be made ahead–up until the point of baking–and frozen.  Do not thaw before baking.
  • This recipe may easily be cut in half, as I doubled the original recipe.


Recipe adapted from Baked Pasta with Chicken Sausage by Martha Stewart found here on marthastewart.com