Lemon Cupcakes with Lemon Icing


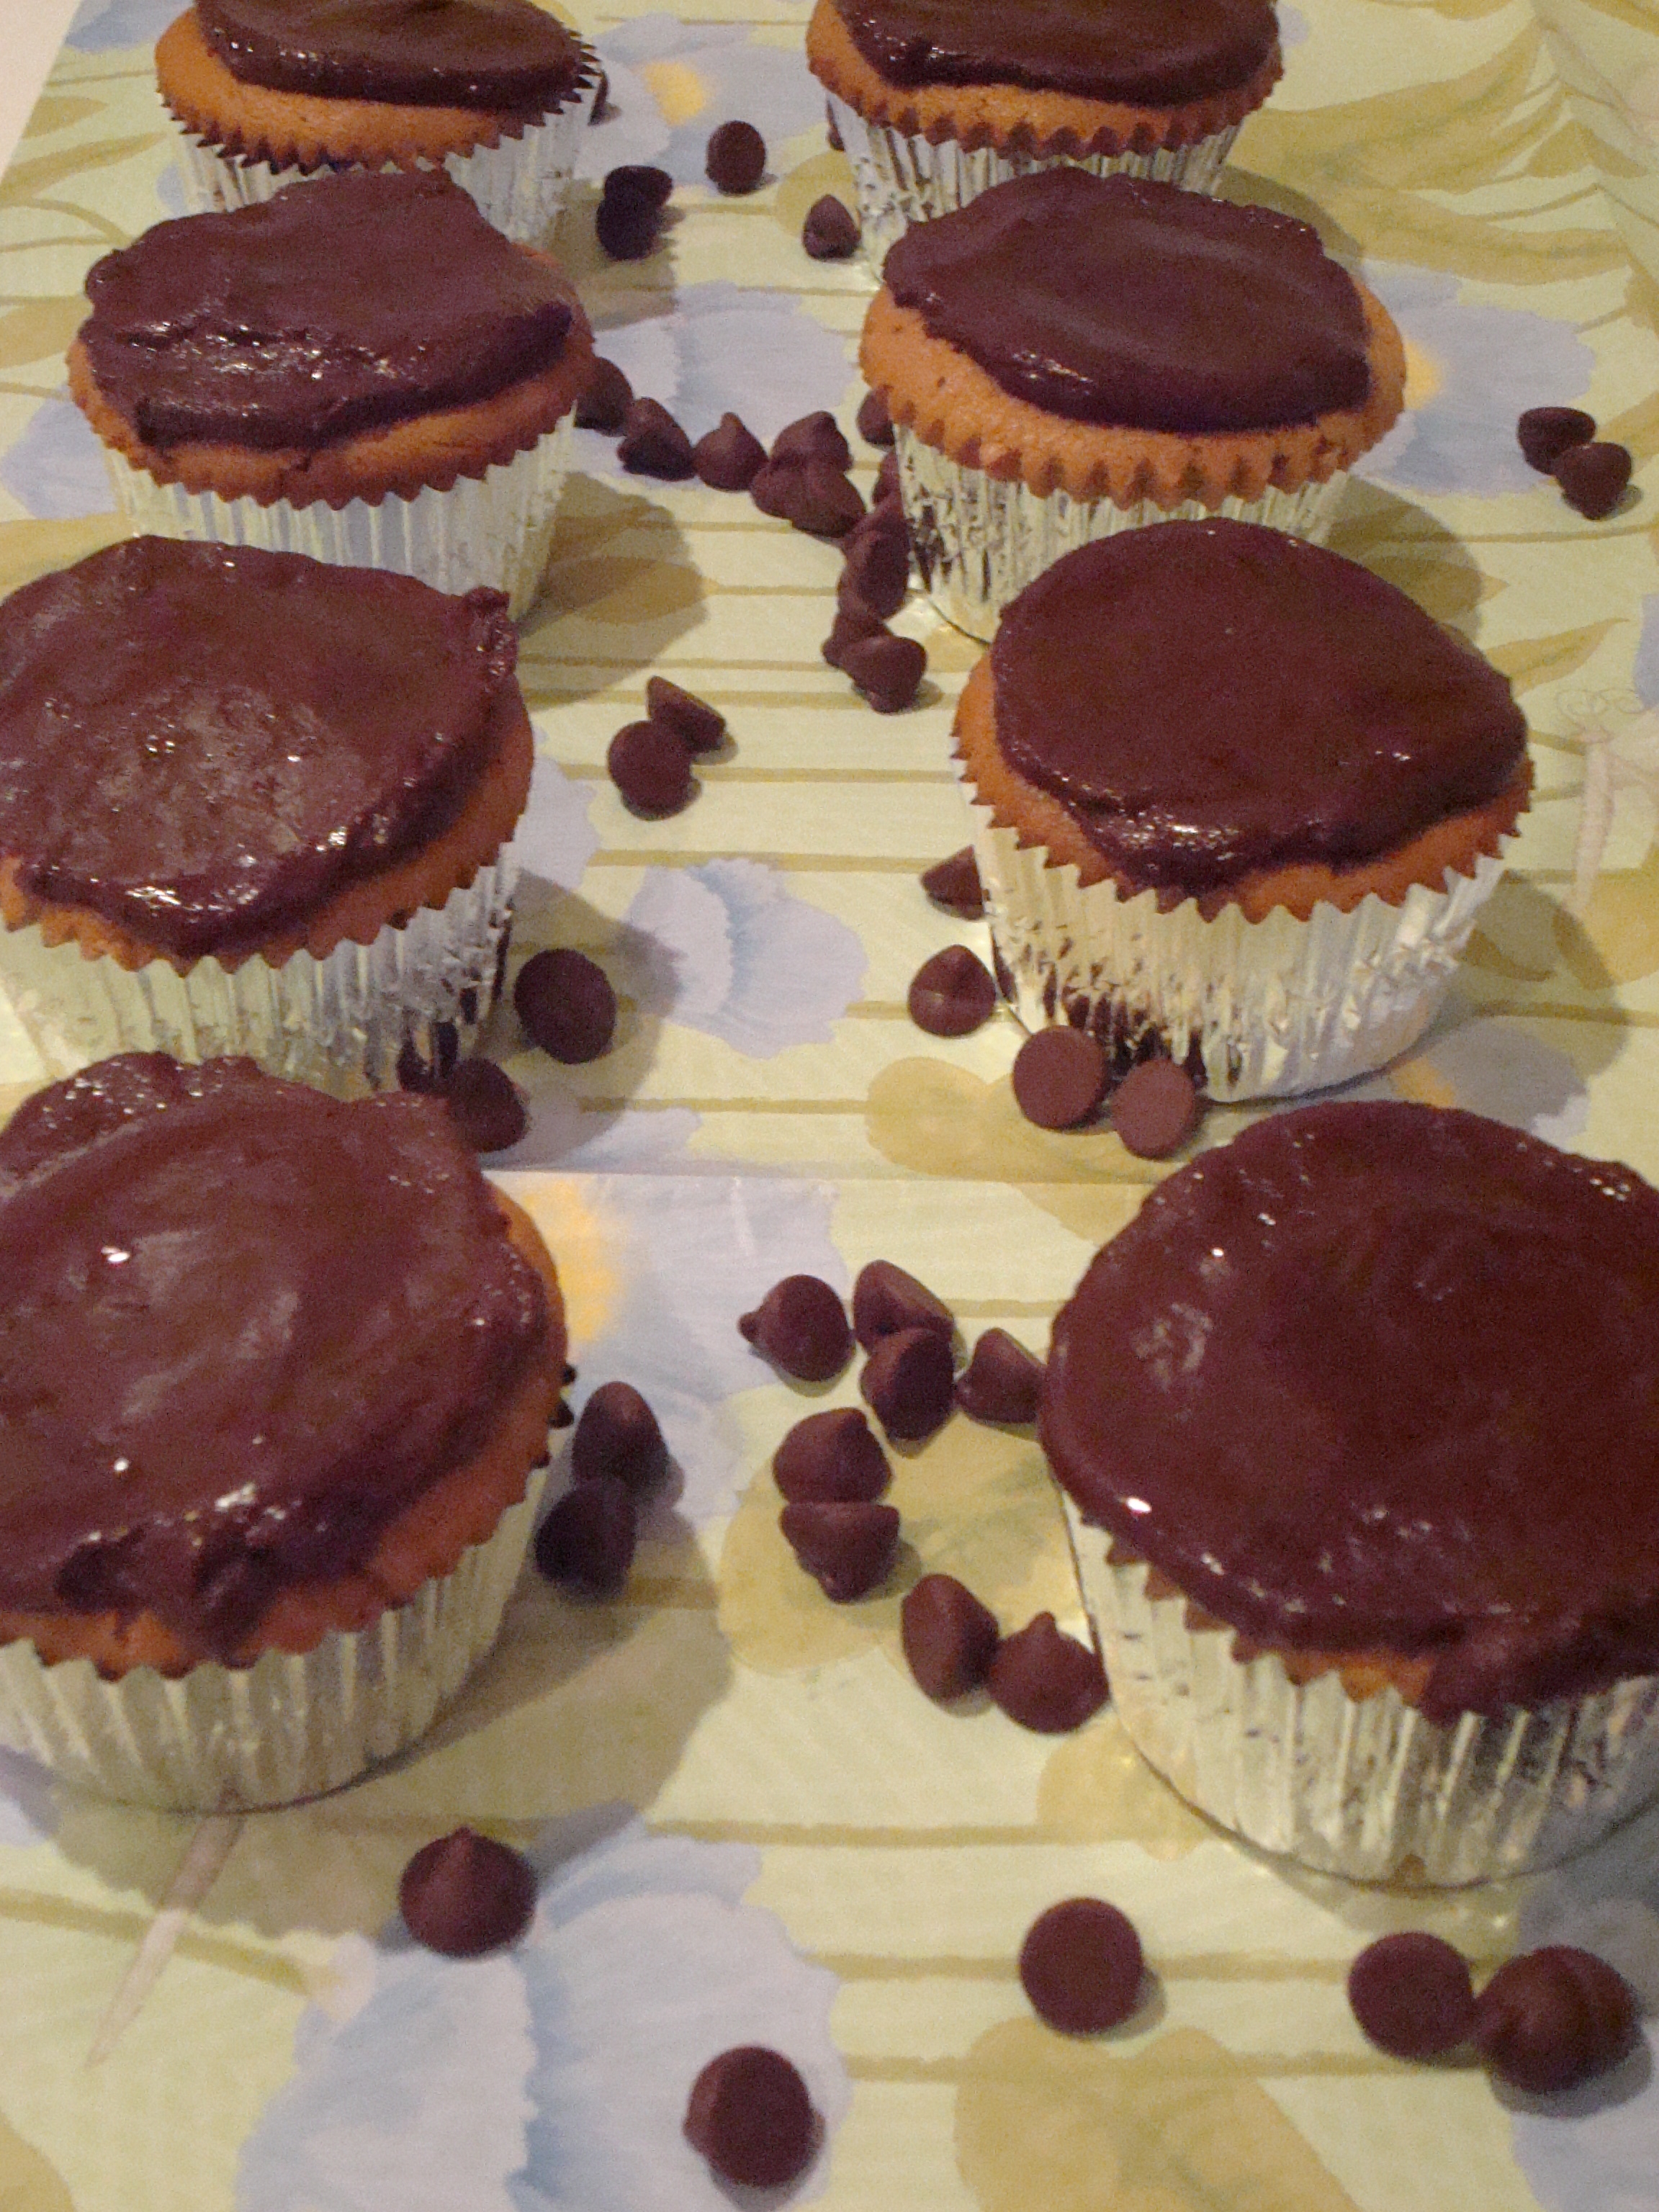
I was set on making fruit-flavored cupcakes and I hemmed and hawed over which fruit flavor for longer than anyone should hem and haw about fruit-flavored cupcakes, or anything fruit-related for that matter.  I considered orange, lime, pineapple, apple, watermelon and even grape.  I even considered different combinations of frosting and cake–lemon cake with lime frosting, orange cake with lemon frosting, vanilla cake with pineapple frosting.  I think the heat was getting to me–I almost forgot I do have more important things to think about!   Before spiralling too far into a fruit-salad hysteria I took a cold shower.  It was then that I settled on crisp, simple, refreshing: lemon.  And I am happy with the decision.  The cake was nice and fluffy with just the right amount of lemon flavor.  The icing was smooth and sweet–nicely balanced by the tartness of the lemon.    


Lemon Cupcakes:

  • 2 sticks unsalted butter
  • 2 cups granulated sugar
  • 4 large eggs, at room temperature
  • 3 cups all-purpose flour
  • 1/2 teaspoon baking soda
  • 1/2 teaspoon salt
  • 1 cup milk
  • lemon zest of 2 lemons
  • lemon juice of 2 lemons

Preheat over to 325 degrees.  Insert liners into 2 cupcake pans.  In a large bowl cream together butter and sugar with an electric mixer until fluffy, about 3 minutes.  Add the eggs one at a time to creamed mixture, beating 1 minute after each addition.

In a separate bowl combine flour, baking soda, and salt.

Add the dry ingredients to the creamed mixure, alternating with the milk.  Add the lemon zest and lemon juice.  Mix until incorporated.

Fill the cupcake liners 3/4 full.  Bake for 20 minutes or until a toothpick inserted in the center of a cupcake comes out clean.

Lemon Icing:

  • 4 cups confectioners’ sugar
  • 1 stick unsalted butter (softened)
  • zest of one lemon
  • juice of one lemon

In a large bowl cream together sugar and butter with an electric mixer until smooth.  Mix in the lemon zest and lemon juice.  Spread over cooled cupcakes. 

Lemon cupcake recipe and lemon icing recipe adapted from Crazy About Cupcakes by Krystina Castella.

Irish Cream Cupcakes with Milk Chocolate Glaze

 I would not be honest if I didn’t tell you I was in quite a rush when I made these cupcakes!  They were a last minute decision and I made them using ingredients already in my cupboards.  Nonetheless, I think they came out pretty well.  The Irish Cream flavor was strong but not overbearing.  Next time I think I will try frosting with a vanilla buttercream instead of the chocolate glaze, but time was not on my side (that seems to be a theme on this blog!) and I went with a simple chocolate glaze. 

I think these would be great for St. Patty’s day, especially with some shamrock embelishments.   

Irish Cream Cupcakes:

  • 2/3 cup unsalted butter at room temperature (I used salted)
  • 2 cups sugar
  • 2 large eggs at room temperature
  • 2 teaspoons vanilla extract
  • 2/3 cup milk
  • 1 1/3 cups Irish Cream Liquor (I used Bailey’s)
  • 4 cups of flour
  • 2 tsp salt
  • 2 tsp baking powder

Preheat oven to 325 degrees.  Insert liners into cupcake pan.  In a large bowl cream together sugar and butter.  Add the vanilla and eggs.  Beat well.  In another bowl, mix together flour, baking powder and salt.  In a third bowl mix Irish Cream with milk.  Add the flour mixture to the creamed mixture alternating with the liquid mixture, starting and ending with the flour mixture. Beat on medium speed for two minutes.  Fill the cupcake papers 3/4 full.  Bake for about 20 minutes.  Cool cupcakes in pan.  Makes 24 cupcakes.

Milk Chocolate Glaze:

  • whipping cream
  • coarsely chopped milk chocolate*

Heat the whipping cream until it is bubbling but not boiling.  Remove it from the stove and add the chopped up chocolate.  Whisk cream and chocolate together.  Add more cream or chocolate to reach desired consistency.  After the cupcakes cooled I drizzled the glaze over each.

*I was low on milk chocolate chips so I used a solid Godiva chocolate bunny that I have been holding on to!  Talk about improvising–haha!  I did feel bad watching his paws melt, but there was no time to run to the store!

Irish Cream Cupcakes adapted from Crazy about Cupcakes by Krystina Castella

Milk Chocolate Glaze adapted from Cupcakes! by Elinor Klivans

Chicken Sausage Burgers

I thought these burgers were delicious!  Because of the fennel seed and other spices, they tasted very much like sausage patties, but fresh, and without all of that fat.  Also, the red pepper gave them a nice kick!  I found them to be much more interesting than traditional burgers–a nice way to add some depth to typical cookout food.

Chicken Sausage Burgers:

  • extra virgin olive oil
  • 1 pound ground chicken
  • 1 pound ground turkey (package actually contained about 1.5 lbs of meat, which was fine)
  • 1 1/2 teaspoons crushed red pepper flakes
  • 1/4 teaspoon allspice
  • juice of one orange
  • 2 generous handfuls of grated parmigiano cheese
  • 4 cloves garlic
  • salt
  • freshly ground pepper

Place the ground meat in a bowl and add the fennel seed, red pepper flakes, allspice, orange zest, garlic, salt and pepper.  Using your hands, mix the meat with the seasoning and form about seven patties.   Make a shallow dent in the top of each burger to prevent the burger from bulging as it cooks.  Place burgers on a cookie sheet lined with wax paper.  Drizzle burgers liberally with olive oil and sprinkle salt and pepper on the top of each.  Layer wax paper between layers of burgers.  Cook on low heat on the grill (about 10 minutes on each side) until there is no longer pink in the center.  Be careful not to overcook.  Serve on fresh crusty rolls slathered with sweet BBQ sauce. 

These were juicy and delicious!

recipe notes: makes about 7 medium size burgers, recipe called for orange zest, which I omitted, recipe only used chicken, but I used half turkey half chicken to make the burgers a little tastier and less dry, I doubled this recipe, which is why there are 14 burgers in the photo.

Recipe adapted from Rachael Ray’s recipe found here on foodnetwork.com

Spinach Artichoke Pasta Salad


Tortellini is one of my favorite types of pasta so when I found this recipe, I was very excited to try it.  Also, I don’t really like pasta salads that are “mayonaisey” so this combination of ingredients was particularly alluring.  It tasted so fresh!  So many wonderful textures and flavors.  The tartness of the artichoke hearts was balanced so nicely by the saltiness of the prosciutto filled tortellini.  The sweet onions provided a satisfying crunch.   Every bite was colorful and enjoyable.  I plan to make this one again and again. 

Spinach Artichoke Pasta Salad:

  • 1 package fresh Buitoni chicken prosciutto tortellini
  • 1/2 pound baby spinach (chopped)
  • 1 15-oz can artichoke hearts in water (drained and chopped)
  • 1/2 small red onion
  • 2 clove garlic
  • 1 lemon
  • 1/4 cup extra virgin olive oil
  • A few splashes of red wine vinegar
  • 1/2 teaspoon dried thyme leaves
  • handful sun-dried tomatoes (chopped coarsely)

recipe notes: the recipe called for 1 chopped roasted red pepper, which I omitted.  I also omitted lemon zest and instead used only fresh lemon juice.  And I tripled this recipe to get the quantity shown in the photo.

Boil the pasta in salted water.  Cook tortellini for 3-4 minutes.  (I was so worried about over cooking these little pouches of deliciousness, that I actually undercooked them.  More on that later.)  Drain then cool pasta by spreading across a cookie sheet in a single layer.

Coarsely chop baby spinach.  Combine with artichoke and red onion.  Chop garlic then add salt to it and mash with the back of a spoon to create a paste.  In a small bowl combine the garlic and salt paste with the lemon juice.  Add the vinegar.  Whisk in oil, thyme and fresh cracked black pepper.  Add pasta and sun-dried tomatoes to the salad.  Dress the salad and gently toss.

So, I did under cook the pasta, just a bit.  Before storing it, I added some olive oil and chicken broth so the next day, the leftover pasta had obsorbed more of the dressing and was just fine. 

I highly recommend this dish as a fresh alternative to boring colorless, traditional, creamy salads.

Recipe adapted from recipe by Rachael Ray found here on foodnetwork.com

Peanut Butter Cupcakes with Milk Chocolate Glaze


I am bringing these to a coookout tomorrow night.  They look and smell delicious–my only complaint is the recipe only makes 12!  I wish I had realized this before I began baking because 12 turns into 11 mighty quickly with a husband in the house.  He “tested” one pre-glaze and said it was good–nice and peanutbuttery.  I hope the glaze holds up until tomorrow, as it is warm out.  I may even toss them in the fridge! Even if it does melt a bit, the combination of PB and chocolate (melted or not) is a classic that few don’t appreciate! 

Peanut Butter Cupcakes:

  •  1 cup unbleached all-purpose flour
  • 1 teaspoon baking powder
  • 6 tablespoons butter (recipe calls for unsalted, I used salted)
  • 3/4 cups smooth peanut butter at room temp.
  • 1 cup packed dark brown sugar
  • 1 large egg
  • 1 teaspoon vanilla extract
  • 1/2 cup milk

Preheat the oven to 350.

Sift the flour, baking powder, and salt in a medium bowl.  In a large bowl on medium speed beat butter, peaut butter, and brown sugar until smooth–about 1 minute.  Mix in the egg.  Add the vanilla and beat for another minute.  On low speed, add the flour mixture in 3 parts and the milk in 2 parts.  Start and finish with the flour mixture.  Make sure the flour is incorporated and the batter is smooth.  It will stay the color of peanut butter as below. 

Line 12 muffin tin cups with liners.  I used foil liners because I like the look of them.  Fill each liner with about 1/4 cup of batter.  I use an ice cream scoop (I got this idea from Ina Garten).  It makes distributing the batter easier and you are more likely to distribute evenly. I also find it helpful to place the muffin tin on top of a cookie sheet before placing in the oven.   

Bake about 22-27 minutes.  The tops will be firm, light brown, and there are a few small cracks on the top.  As usual, a toothpick inserted to the middle should come out clean. 


Cool for 10 minutes in the pan set upon a wire rack.  Then remove the cupcakes from the pan and cool completely on a wire rack. 

 Milk Chocolate Glaze:

  • 1/4 cup whipping cream
  • 1 tablespoon salted butter (recipe calls for unsalted, I used salted)
  • 1 cup milk chocolate chips
  • 1/2 teaspoon vanilla extract

In a medium sauce pan heat the cream and better over low heat until the cream is hot and the butter melts.  Do not boil.  Remove from heat add the milk chocolate chips and let sit in the cream for about 30 seconds.  Add the vanilla and whisk until smooth and all chocolate chips have melted. 

Using a small spatula, spread 1 tablespoon of the glaze over the top of each cupcake.  (Make sure cupcakes are completely cooled or the glaze will simply melt and drip off!)

The cupcakes can be covered and stored at room temp for up to three days.

Adapted from Cupcakes! by Elinor Klivans. Chronicle Books.